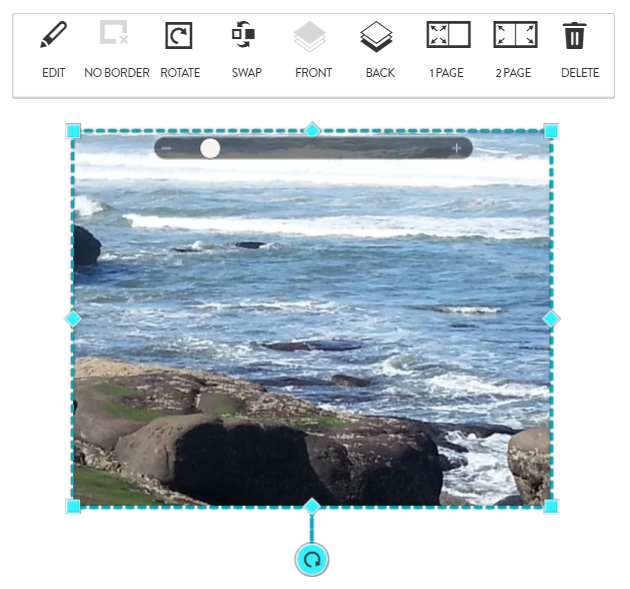
When you select a photo on a page in a book or most projects, the photo tool bar appears as shown below.
Options in the photo menu:
 To enhance a photo, including Auto Contrast, Fill Flash, Brightness or Contrast controls, adding tint filters, rotating and cropping options, just click the EDIT icon.
 To remove a border from a photo, click the no border icon. This icon is only active if you have added a border to the photo from the Borders menu in the left menu bar.
 To switch the positions of a photo with another, click the swap icon, then click the second photo. This will switch the positions of the 2 photos without affecting anything else on the page.
 To change the stacking order of layered objects on a page, use the paper stack icons. These options allow you to layer photos, text, or embellishments, by bringing a selected item to the top or pushing it to the back of overlapping objects. These options are only active if you have more than one photo or object on the page .
 To use the selected image as a single page background that completely fills the page, click the icon that shows four arrows arrows on one page. Again you can use the slider to zoom in, or pan to a specific area of the photo.
 To use the selected image as a background for 2 facing pages (photo books only), click the icon that shows four arrows on a two page spread. The same example from above is now spread across both pages.
 If you've used either of the background options (above), a minimize button appears (see right) that allows you to remove the image as a background and restores it to a smaller size.
 To remove the photo from a page, click the trash can icon. This only removes the selected photo from the page. The same photo may still be in other pages and it is still in the project.
Options on the photo itself:
- To move a photo, click it and drag it anywhere on the page (you can't drag it across to another visible page).
- Zoom in or out of a photo by dragging the slider button below the menu, or clicking the + or - buttons.

- If you zoom in, you can drag the hand to show the area you want within the frame (see right). The hand only appears when your mouse is above the photo.

- Change the frame size or cropping by dragging any of the blue handles:
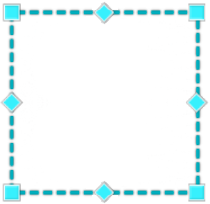 To resize the photo, grab one of the corner handles and drag it outward to enlarge, or inward to reduce the size, or
- Drag one of the diamond shaped handles in the middle of each side, to change the photo's shape. The photo within the frame will crop to the dimensions of the resized frame.
- To rotate the photo, grab the circular icon below, or sometimes above the photo (see right),
 and move it right or left.